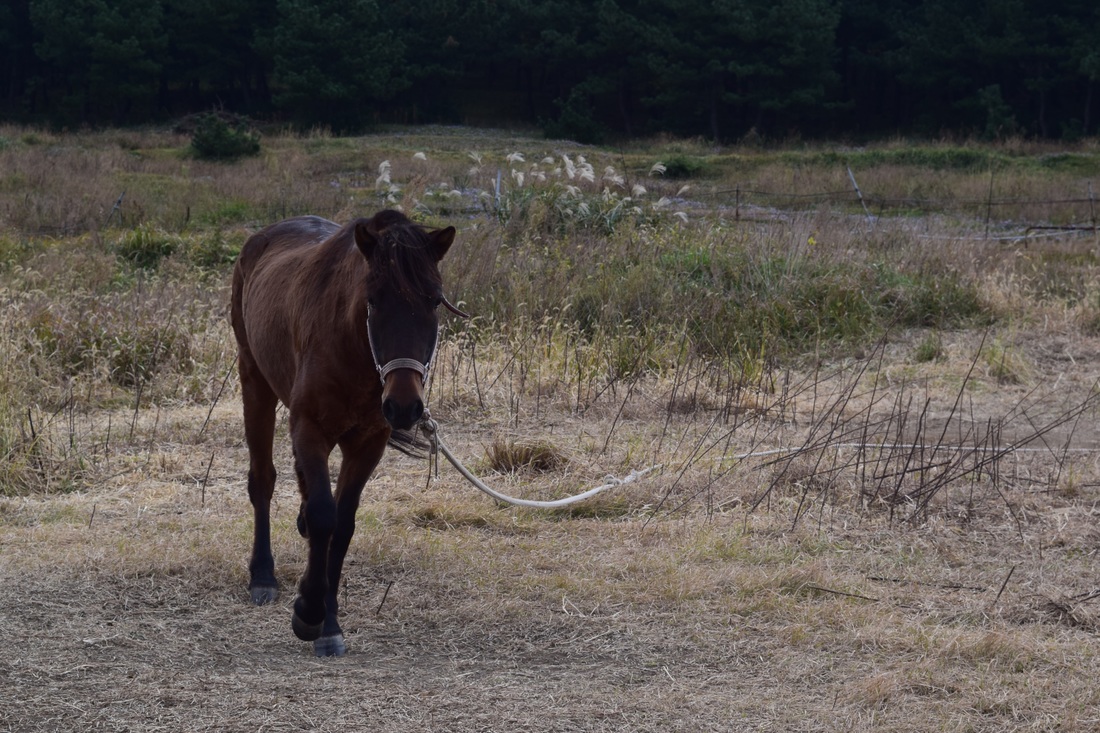
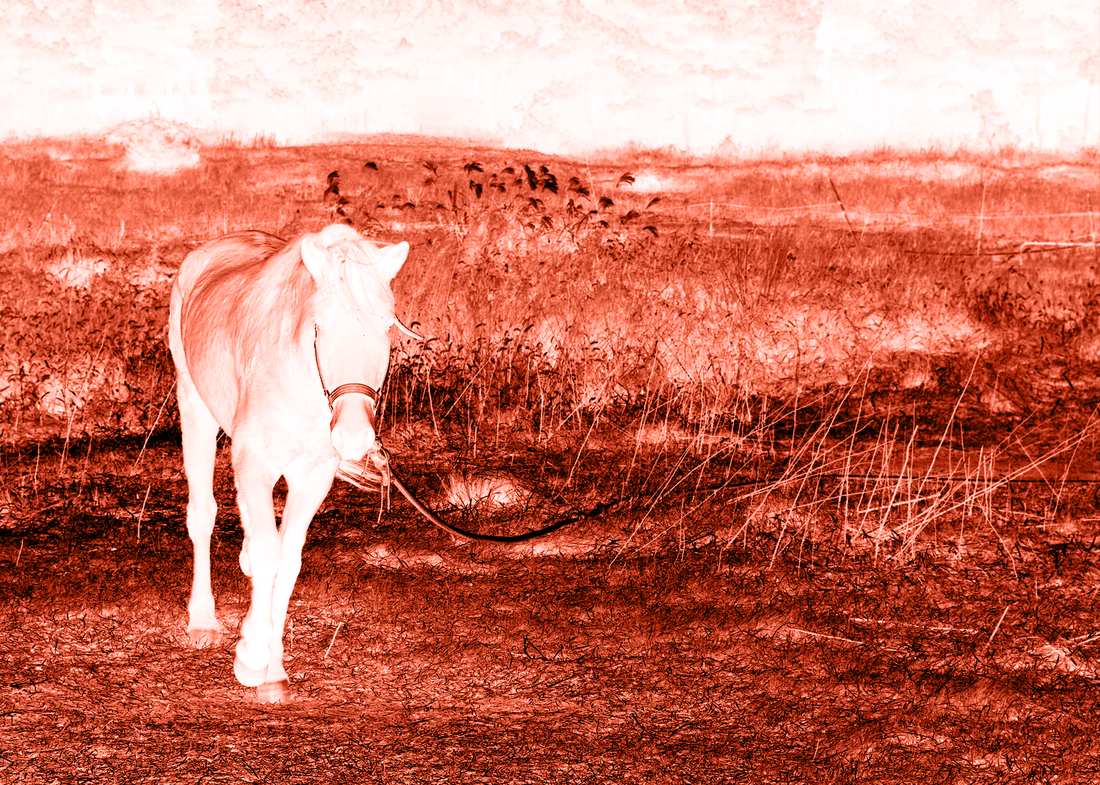

To create these Images there were a number of steps that we had to go through. The first was getting our photoshop document 7 by 5 inches. Once that was done, we had to put our picture into the document and correctly size it so that it would cover the whole page. To do this we could simply drag the corners of the image out to fit the page, while clicking shift so that it stayed proportional. Then we had to make the image black and white using the gradient map. At first the contrast in my picture wasn't too good, so I had to change some of the options to make it better. Then I inverted it so that the dark parts were light and the light parts were dark. Once that was taken care of I had to change the colour so that the picture came up as a solid colour. When it was the right colour I just had to go to the options and click "colour" instead of "normal" this is what made the final negative image (the orange one above) Now that we had our negative images printed on sheets of plastic, we could create our cyanotype. To create it there was a lot of steps we had to do. First we put light sensitive paper on a piece of cardboard. Then we put our negative image on top. Then we had to put a piece of plexy glass on top so that it would stay flat and not blow away. All we had to do after that was leave it in the sun for a couple minutes. The lighter parts on the negative image were more clear than the the darker parts and let in more light. The more light that was let in, the darker the light sensitive paper would get. The darker parts (which were the light parts in the original picture) didn't let in as much light, which kept the paper light. After 5 minutes was over and we the paper had been marked, we put it in water. This stops the chemical reaction that happens when light comes into contact with the paper. The Image dried and came out like you see it above.
HERE is the link to the original tutorial used to create the negative image.
HERE is the link to the original tutorial used to create the negative image.
History of the Camera
During class we each gave a presentation about a moment in time during the cameras development. Something I realised from the presentations was that there were many steps (and long amounts of time between them) that were involved while creating the camera that we have today. It wasn't something where someone got an idea and was able to put it into action in the next couple of years. The whole process took decades to get to where we are now. During this process there was one point which I think was a significant turning point for photography. This was when Nicephore Niepce created the first permanent photograph. To do this, he coated a metal plate with a solution of bitumen and Judea. He then put the plate into a camera obscura. After being exposed in the light for a couple days, the light sensitive solution on the plate held an image on it of the view outside a window. Other people in Niepce's time tried to use this method to capture a permanent image, but they all failed and pictures would fade after they were taken or processed. Niepce was the first known person to succeed in using this method to capture a permanent image. This helped pave the way for all other forms of photography as it inspired new methods and allowed a moment in time to be captured and kept permanently for the first time.
 This is what the processed image looks like in real life, and the picture next to the right is a clearer depiction of what the image displays. | 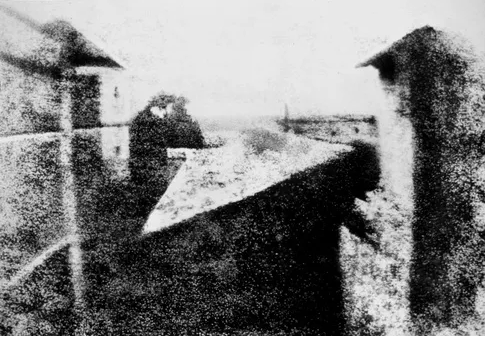 |
 RSS Feed
